Send Shopify Customer File Uploads to Box
Plenty of companies standardize on Box for exactly the kind of files customers upload with orders — artwork, signed documents, medical forms, source material. File To Inbox connects your Shopify store to Box so every customer upload is delivered straight into your Box account, organized in a folder the app manages for you. You still get an email notification for every upload, and the files stay in your own account, forever, under your control and your company's policies. Setup is quick.
1 Connect Box on the dashboard
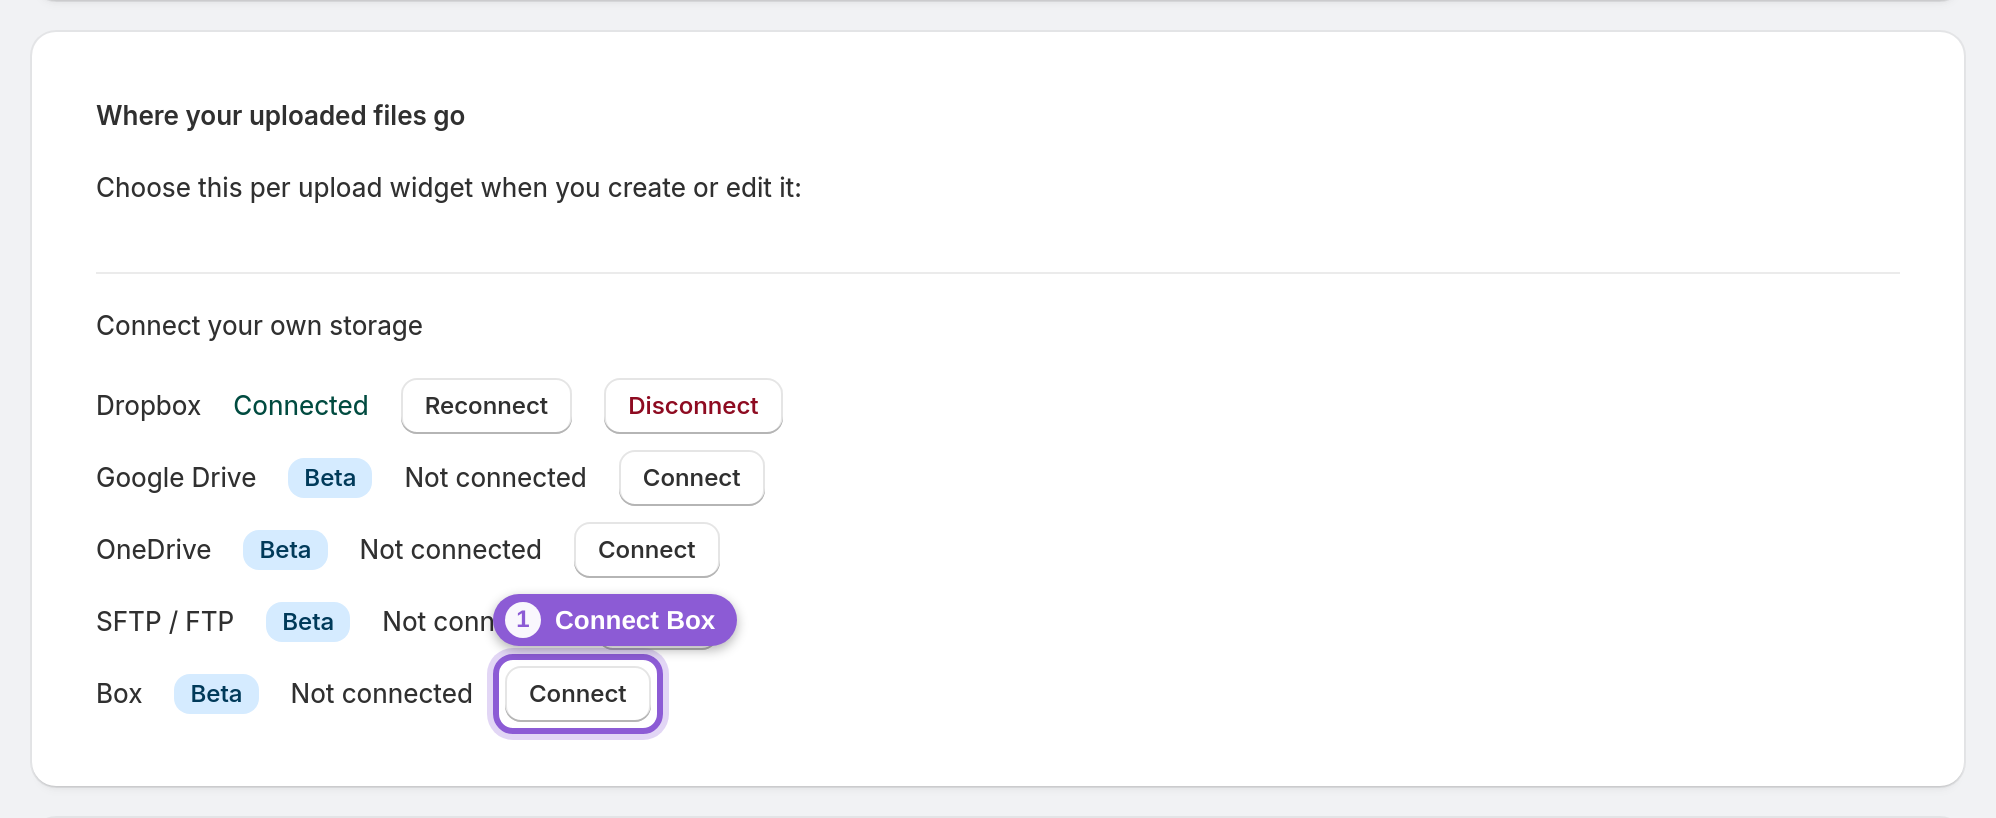
Open the app's dashboard and find the Where your uploaded files go card. Under Connect your own storage, click Connect next to Box. Box's own sign-in screen opens — log in to the Box account that should receive the files and grant access. Back on the dashboard, the Box row shows Connected with your account. (Box support is fresh, so you'll see a Beta badge next to it.)
2 Point a widget at Box
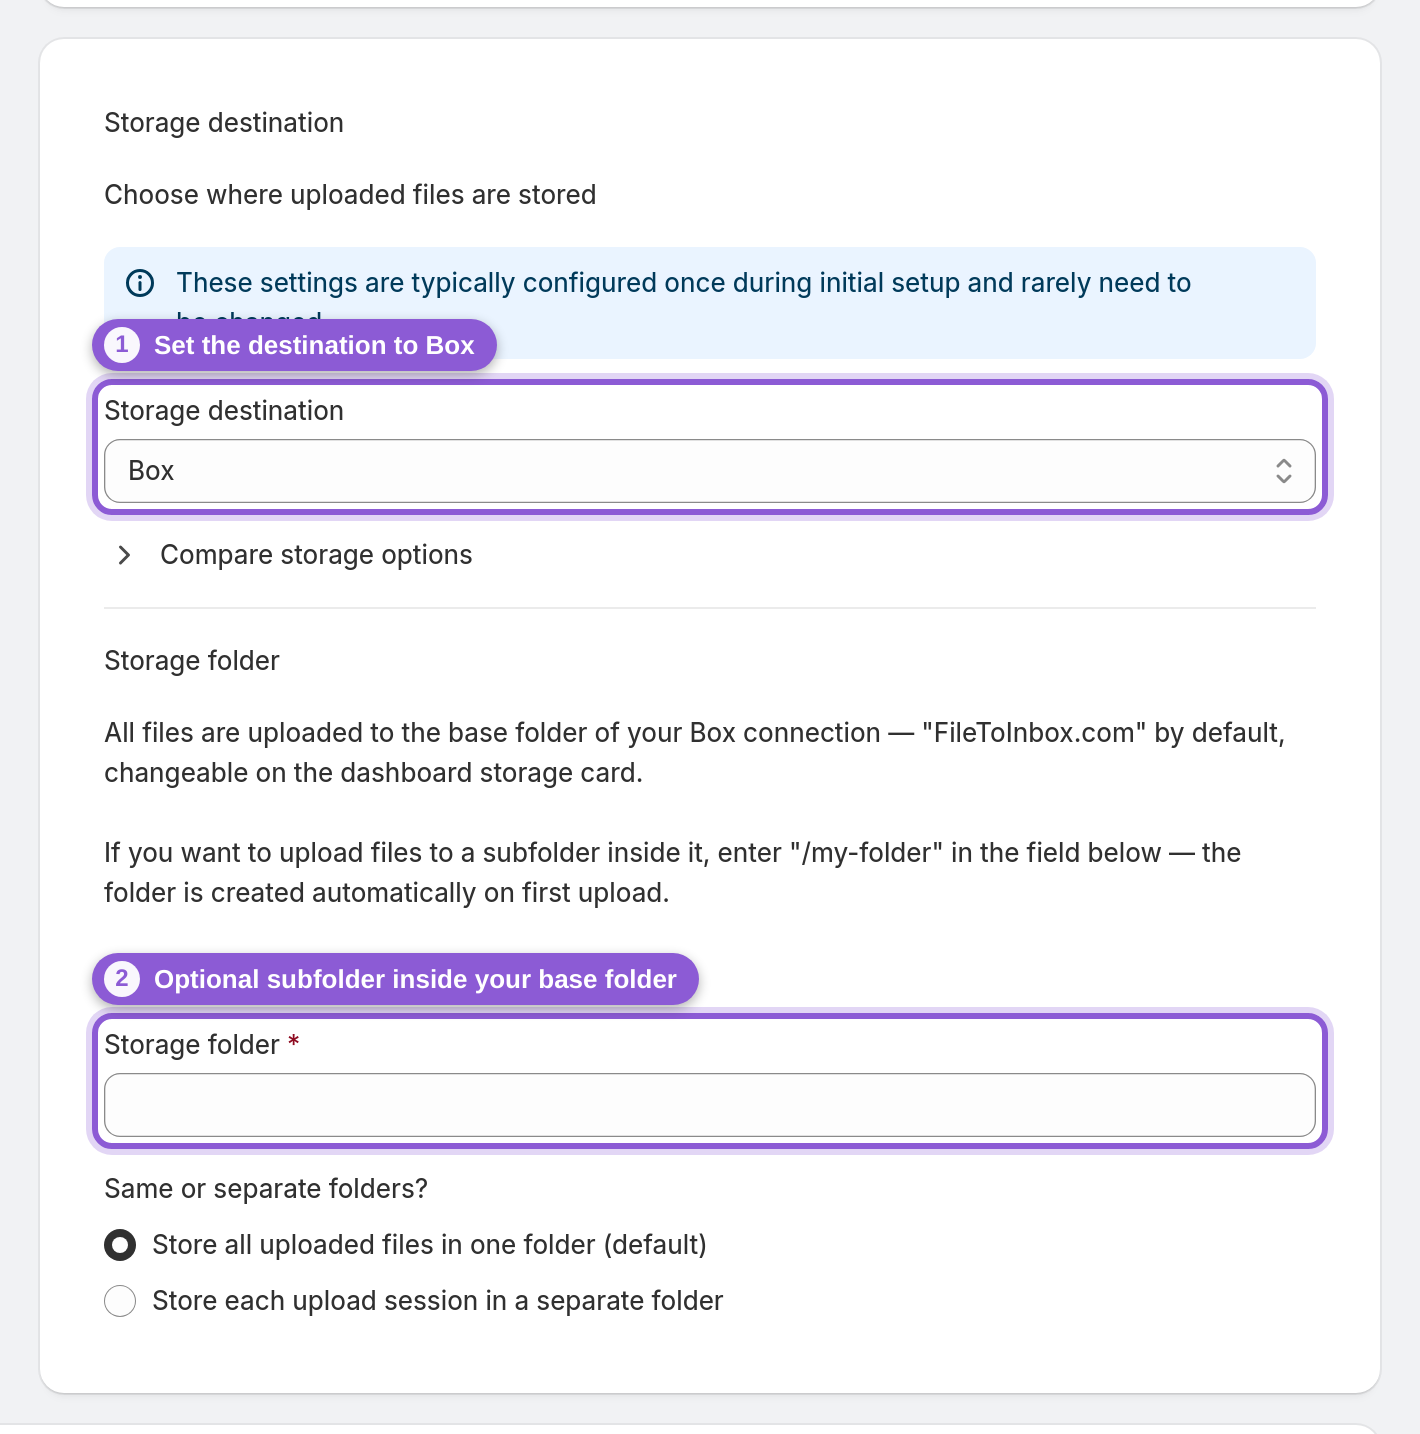
Open any upload widget or standalone page and scroll to Storage destination. Set the dropdown to Box and Save — that widget's uploads now deliver to your Box account. Because it's per widget, other widgets can keep using Dropbox, Google Drive, or the built-in Cloud storage.
3 Choose the folder — and see exactly where files will land
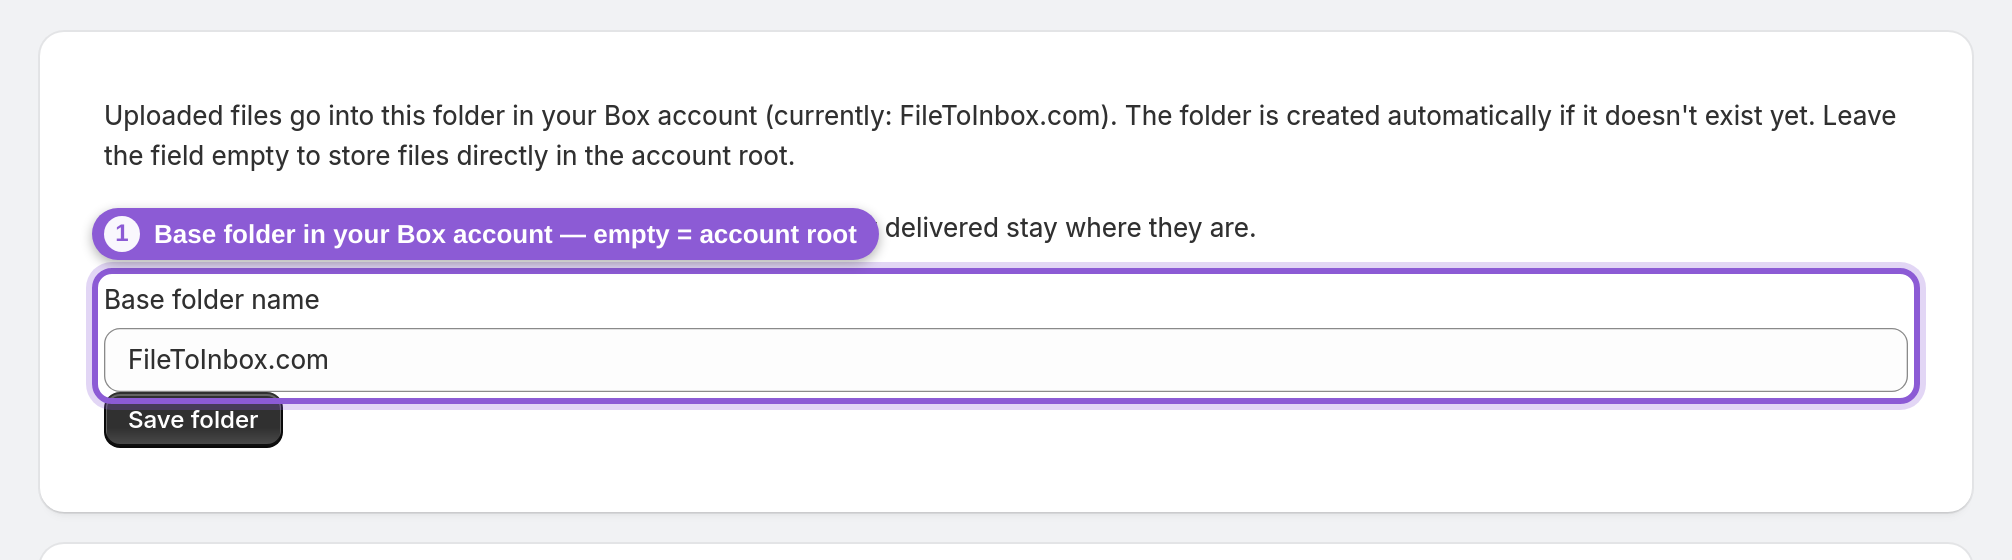
Right below the destination, the Storage folder field says where in your Box this widget's uploads go — /FileToInbox.com if you leave it empty (the app creates it automatically, so files never clutter the account root). Type any path you like, for example "/FileToInbox.com/orders", and the app creates it on first upload; a single "/" sends files straight to the account root. Under Same or separate folders? pick Store each upload session in a separate folder to group each customer's files, and the "Files from this widget will go to" line at the bottom always shows the exact destination — no guessing.
4 Open uploads right from the app
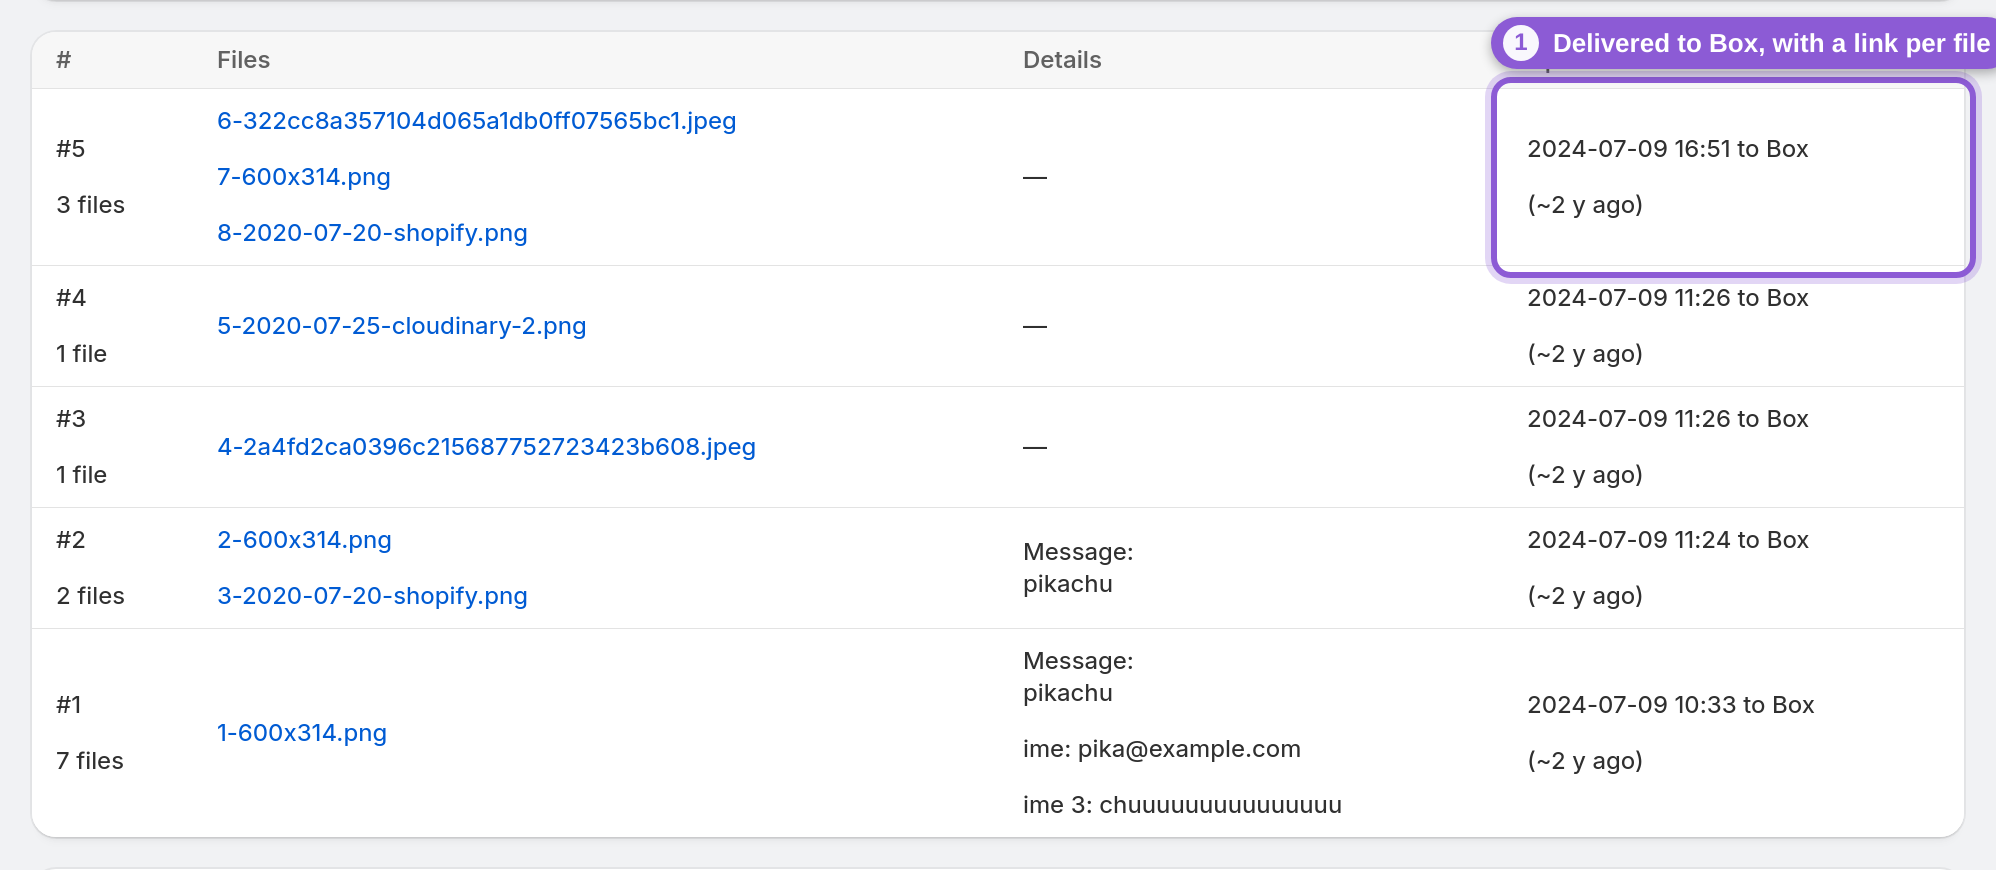
You keep the app's overview too: the widget's Uploads list shows each session with to Box in the Uploaded column, and each filename links straight to the file in Box. The per-upload email notification carries the same links — inbox, app, and Box all lead to the same file.
Frequently asked questions
How do I upload Shopify customer files to Box?
Connect Box on the app's dashboard (one click plus Box's sign-in screen), then set your upload widget's Storage destination to Box. Every customer upload from that widget is delivered into your Box account automatically.
Where in my Box account do the files end up?
In the folder set on each upload widget — /FileToInbox.com by default, created automatically. Every widget shows a live "files will go to" line in its settings, and each widget can use a different folder.
How big can uploaded files be?
Up to 5 GB per file with Box as the destination.
How long do files stay in my Box account?
Forever — they're regular files in your own Box account, governed by your own retention policies. The 365-day limit only applies to the app's built-in Cloud storage.
Can I use Box for one widget and something else for another?
Yes. Storage destination is a per-widget setting, so different widgets can deliver to Box, Google Drive, OneDrive, Dropbox, SFTP, or the built-in Cloud storage independently.
What happens if I disconnect Box?
Files already delivered stay in your Box account — the app never deletes them. Widgets still pointed at Box can't deliver new uploads until you reconnect, so switch their Storage destination first or reconnect the account.
Does this work with enterprise Box accounts?
Connect whichever Box account should own the files. If your Box enterprise restricts third-party apps, your Box admin may need to allow the connection.
