Add a File Upload Field to Shopify Product Pages
If you sell anything that needs a file from the customer — print-on-demand artwork, an engraving design, a monogram, a logo for a custom product — the cleanest place to collect it is right on the product page. File To Inbox adds a product upload widget: a file upload field that shows up on the products you choose, so the file arrives tied to the order instead of chasing it over email later. This guide walks through creating one from the dashboard, pointing it at the right products, and tuning the label, position and file limits. There's no theme code to touch at any step.
Don't have File To Inbox yet? Install it from the Shopify App Store →
1 Start a new widget from the dashboard
Open the app dashboard and click Add an upload widget. That opens a short two-step wizard: pick the products, pick where files go, and the widget is created. Everything else has sensible defaults you can fine-tune later.
![Start a new widget from the dashboard — s-button[href*="uploadPage/new"] highlighted](/docs-assets/img/shopify-product-upload-widget/00-dashboard-add-widget.png?6f58add9)
2 Pick the products and the storage in the quick wizard
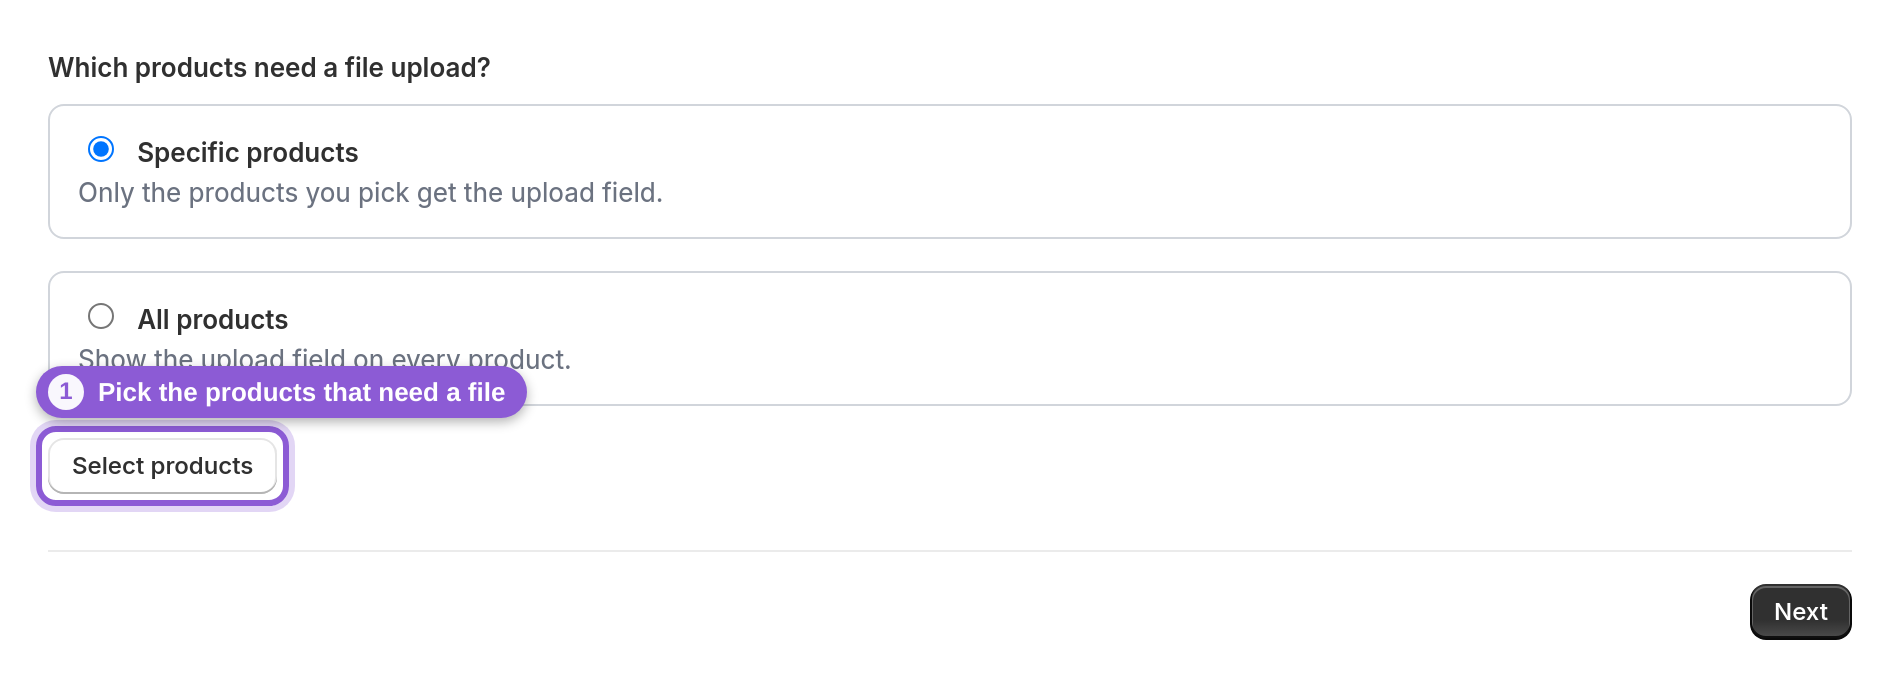
First, Which products need a file upload? With Specific products (the default), click Select products to open Shopify's own product picker and tick the items that need a file; or choose All products. Second, Where should the files go? Leave it on Our storage to start (nothing to set up), or pick Dropbox, Google Drive, OneDrive, Box or SFTP to send files to your own account; each option shows whether it's already connected. Click Create widget and a summary shows how many products get the upload field and where the files go. If the storage you picked isn't connected yet, the Connect button is right there and brings you back to the summary afterwards. Customize the widget opens the editor for the rest of this guide. New widgets start with sensible defaults: the upload is required on Specific products and optional on All products, and files that go to your own storage get a folder per upload.
3 Name the widget and make uploads required (or optional)
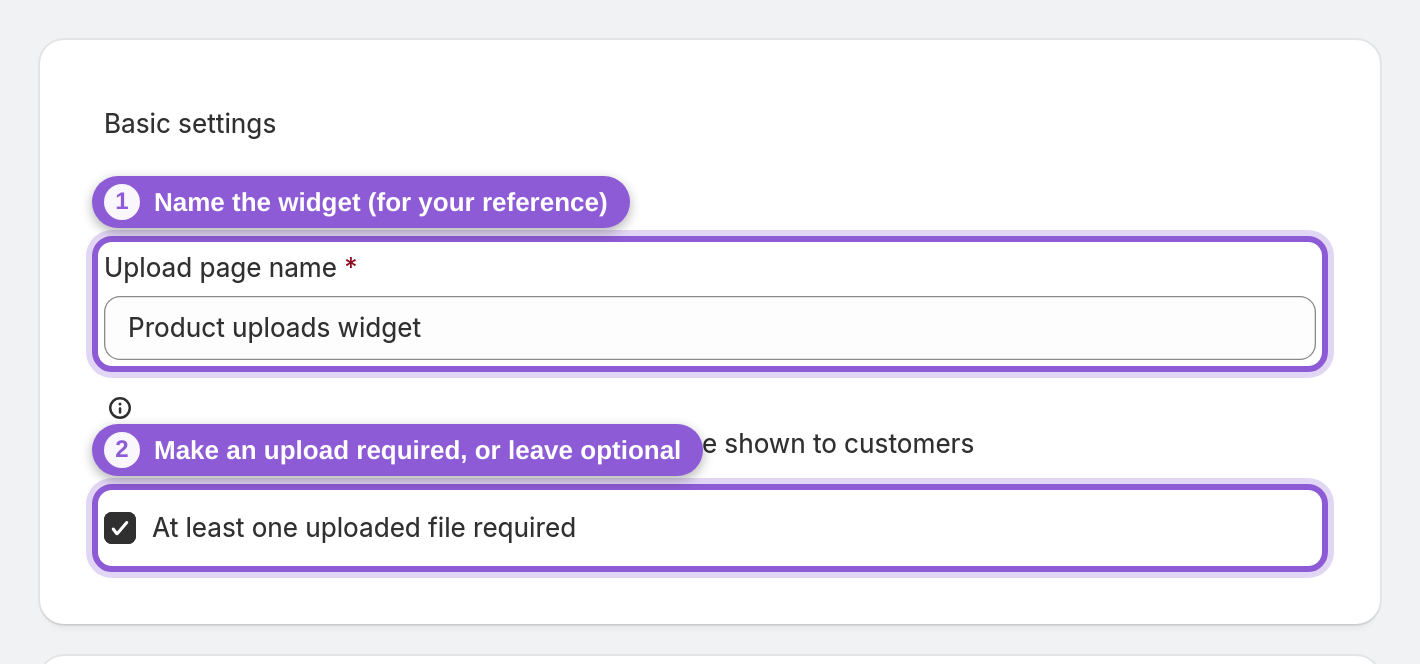
In the Basic settings section, give the widget a Upload page name. This name is for your reference only and won't be shown to customers, so "Engraving artwork" beats "Widget 2" once you run more than one. Below it, At least one uploaded file required decides whether a shopper must attach a file before they can add the product to the cart — turn it on for products that can't be made without artwork, leave it off when the upload is a nice-to-have. Widgets created with the wizard start with it on for Specific products and off for All products, so an upload field on every product never blocks add to cart by surprise.
4 Point the widget at the right products
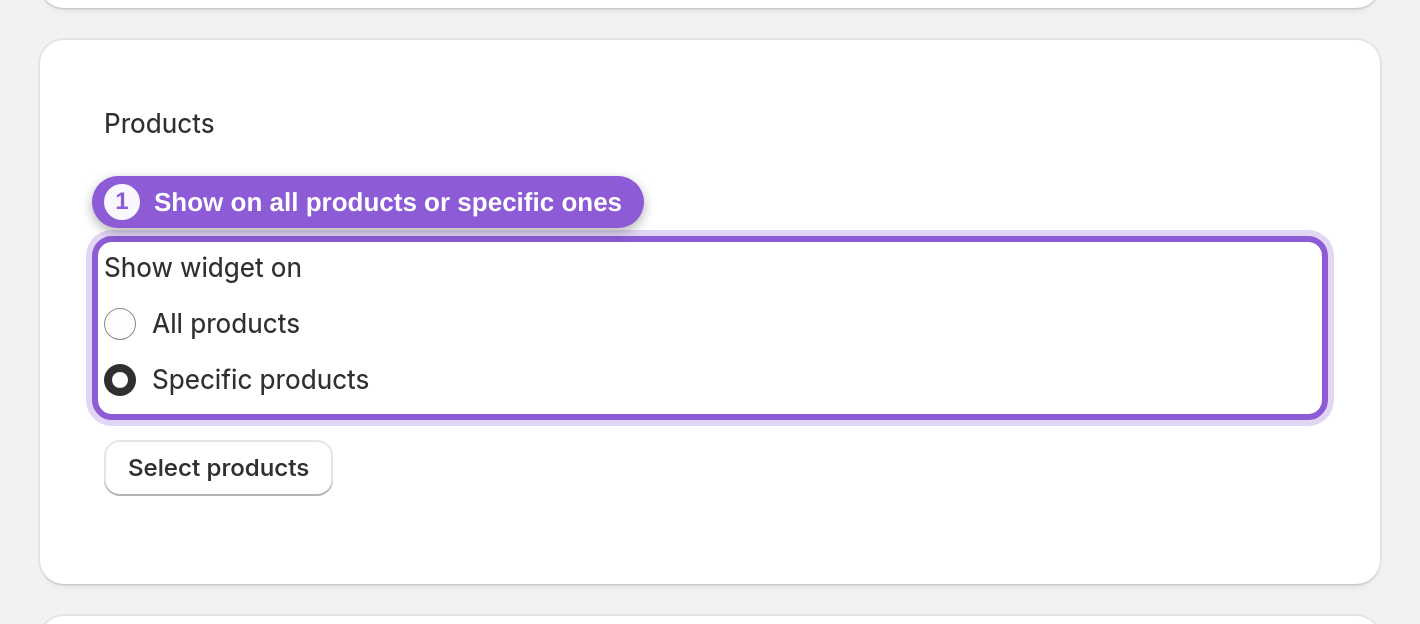
You already picked products in the wizard; the editor's Products section is where you change them later. Show widget on offers All products or Specific products. Choose Specific products and a Select products button appears — it opens Shopify's own product picker, so you tick the exact items (your print-on-demand or engraving range) and only those product pages get the upload field.
5 Set the customer-facing upload label
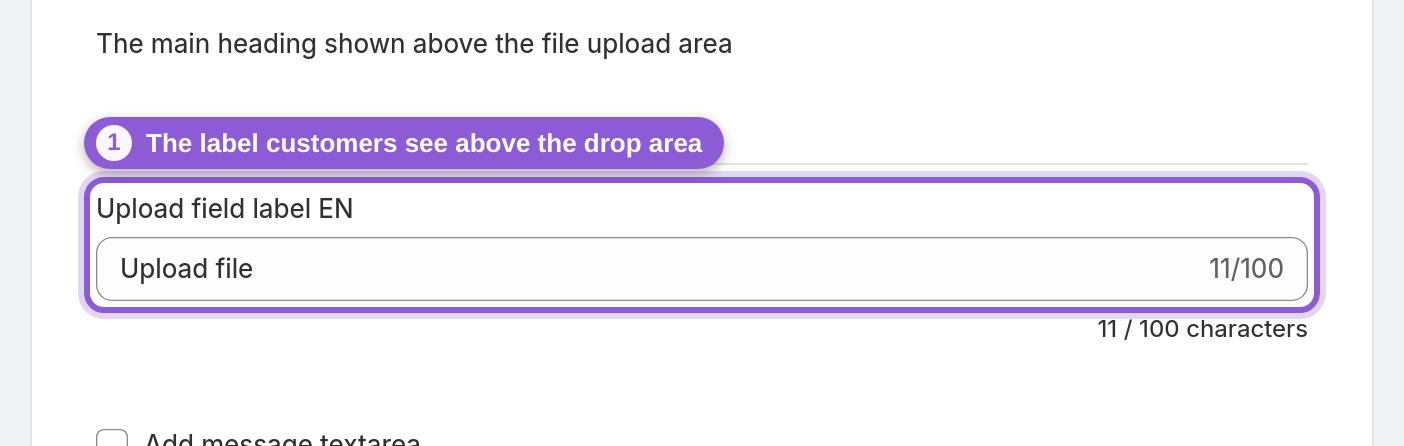
Open Text & translations and set the Upload field label — the heading customers see above the drop area (for example, "Upload your artwork"). If your store sells in more than one language, each label has a tab per language so the widget reads naturally for every shopper. The same section holds the Message field label and Submit button label if you want to tweak those too.
6 Position the widget on the product page
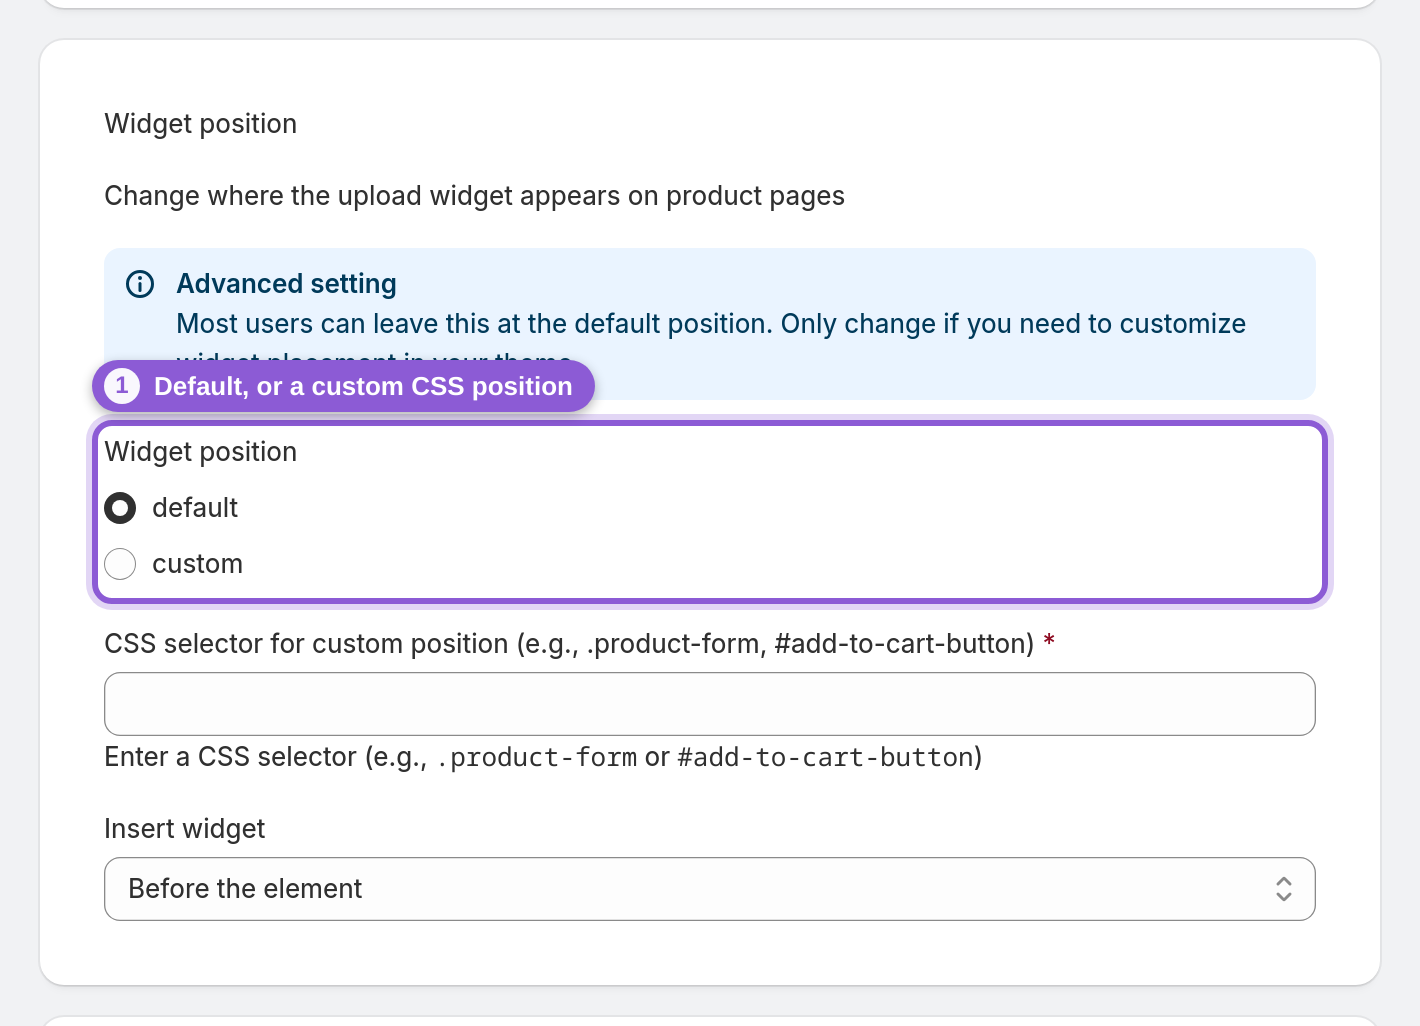
By default the widget sits in a sensible spot, and most stores can leave Widget position alone — it's flagged as an advanced setting for a reason. If your theme needs the field somewhere specific, switch the position to custom, enter a CSS selector for the element to anchor to (like .product-form or #add-to-cart-button), and pick whether to insert the widget Before the element or After the element.
7 Set file limits and save
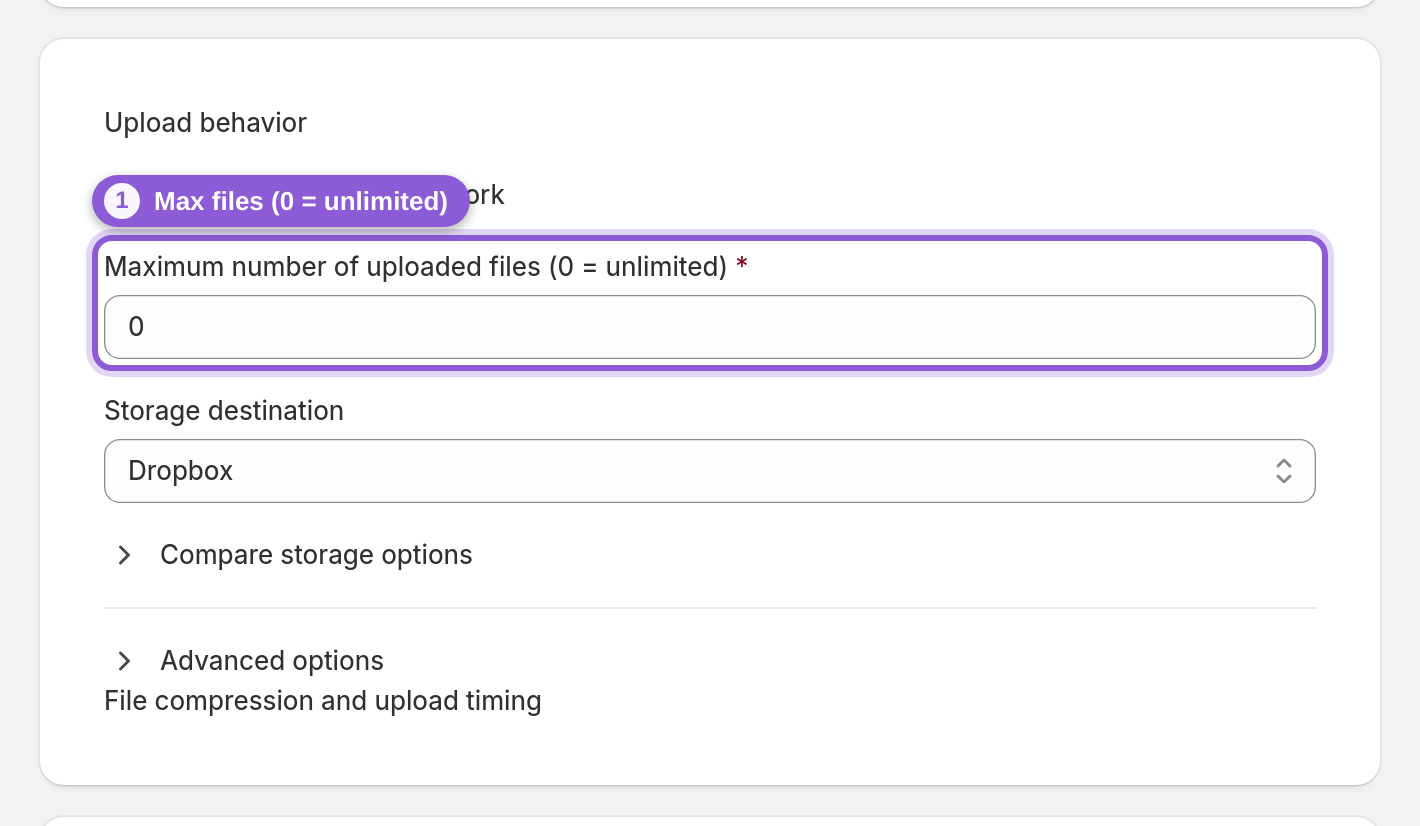
In Upload behavior, set Maximum number of uploaded files — enter 0 for unlimited, or cap it (one design file, say). When everything looks right, hit Save. The app publishes the widget to your storefront automatically and re-syncs with Shopify, so there's no theme editing on your part.
8 Check it on your storefront
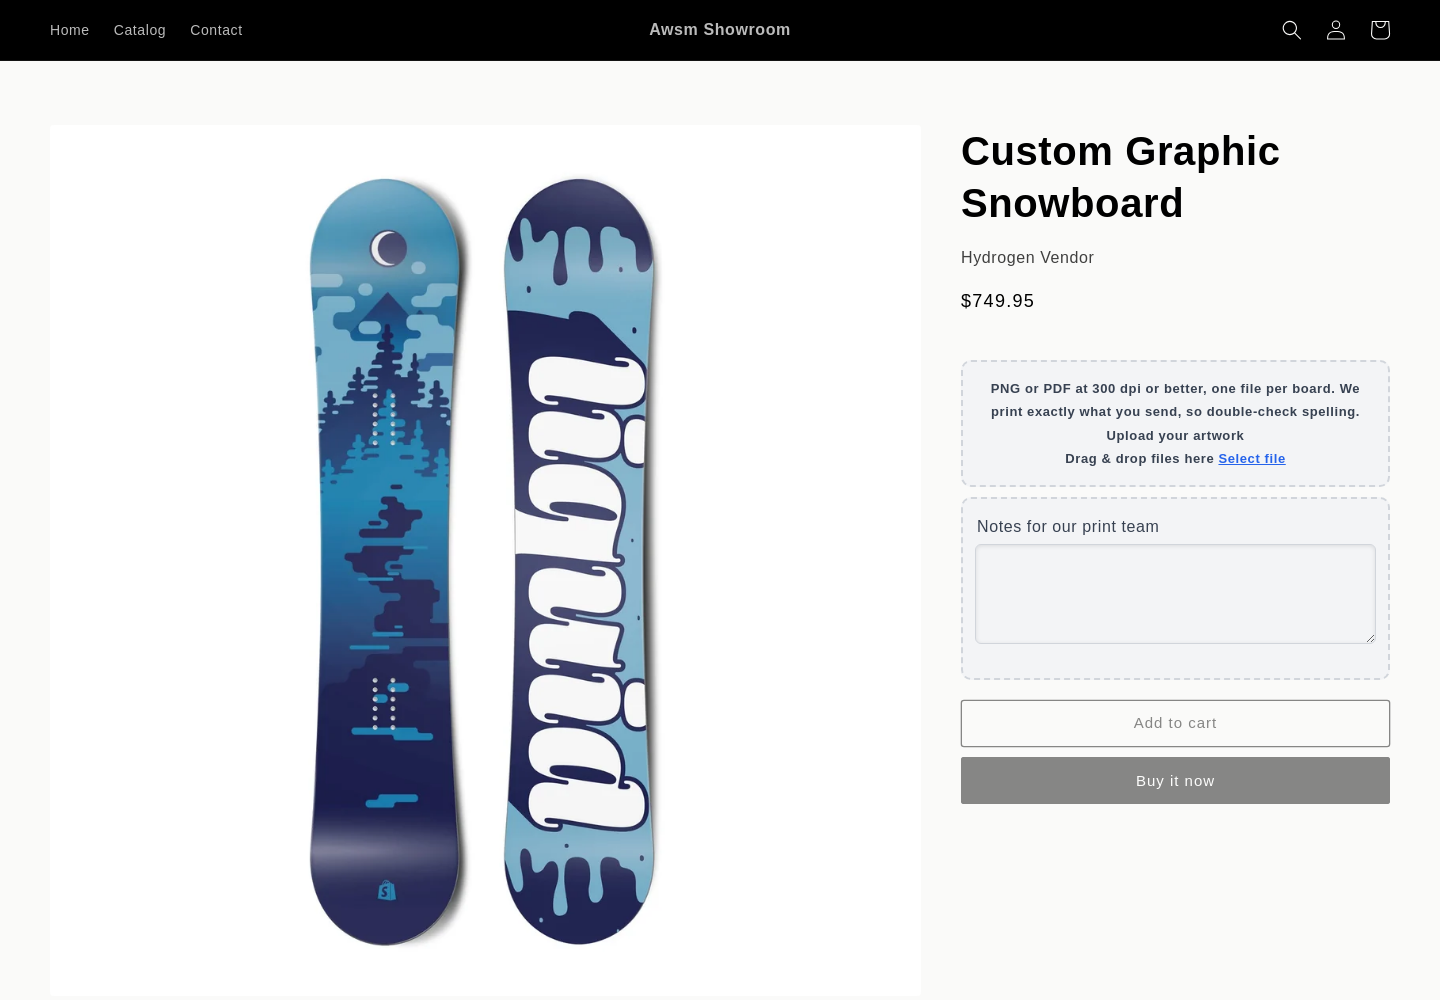
Open one of the products you picked on your storefront. The upload field appears on the product page with the label and instructions you set, right above Add to cart. Drop a file in and place a test order to confirm it comes through — you'll find it under View uploads on the dashboard, linked to that order.
Frequently asked questions
How do I add a file upload field to my Shopify product page?
Open File To Inbox, click Add an upload widget, pick the products and where files go in the quick wizard, and click Create widget. The app deploys the upload field to those product pages automatically — no theme code required. Customize the widget then lets you set the label, whether an upload is required, and the rest.
Can I show the upload field on only some products?
Yes. In the Products section set "Show widget on" to Specific products, click Select products, and pick the exact items with Shopify's product picker. Only those product pages get the upload field — ideal when just your print-on-demand or engraving items need a file.
Can I make the file upload required before add to cart?
Yes. In Basic settings turn on "At least one uploaded file required" and the customer must attach a file before they can add the product to the cart. Leave it off to make the upload optional. New widgets start with it on for Specific products and off for All products.
Where can I place the upload widget on the product page?
It has a sensible default position that works for most themes. If you need it elsewhere, open Widget position, switch to a custom position, enter a CSS selector for the element to anchor to (e.g. .product-form or #add-to-cart-button), and choose to insert it before or after that element.
How many files can a customer upload?
Set Maximum number of uploaded files in the Upload behavior section. Enter 0 for unlimited, or set a specific cap.
Do I need to edit my theme code to add the upload field?
No. When you save the widget the app publishes it to your storefront and re-syncs with Shopify for you. If you ever don't see it, use Re-sync with Shopify on the dashboard.
Can customers add a note with their upload?
Yes. Turn on the message field for the widget and customers get a text box to add a note alongside their files — handy for special instructions. You can rename its label in Text & translations.
What file types can customers upload?
Any file type — there's no whitelist to maintain, so artwork, PDFs, images and documents all go through.