Create a Standalone File Upload Page for Your Store
Not every file comes attached to an order. Sometimes you need artwork after the sale, a document before you start a custom job, or a way for anyone to send you a file without buying anything first. That's what the standalone upload page is for: a real page on your store where customers drop files, with your own form fields so you always know who sent what. File To Inbox creates one for you when you install the app, so this guide is really about customizing it — adding fields, instructions and a thank-you message — and grabbing the link to share. No theme editing required.
Don't have File To Inbox yet? Install it from the Shopify App Store →
1 Open your standalone upload page
Your store already has a standalone upload page — the app publishes it on install. From the dashboard, find it in the list and click the Edit (pencil) button to open the editor. Deleted it by accident? A Restore standalone page button brings it back with one click.
![Open your standalone upload page — s-button[href*="uploadPage/edit"] highlighted](/docs-assets/img/create-a-file-upload-page/00-dashboard-edit.png?6f58add9)
2 Name the page and turn on a message field
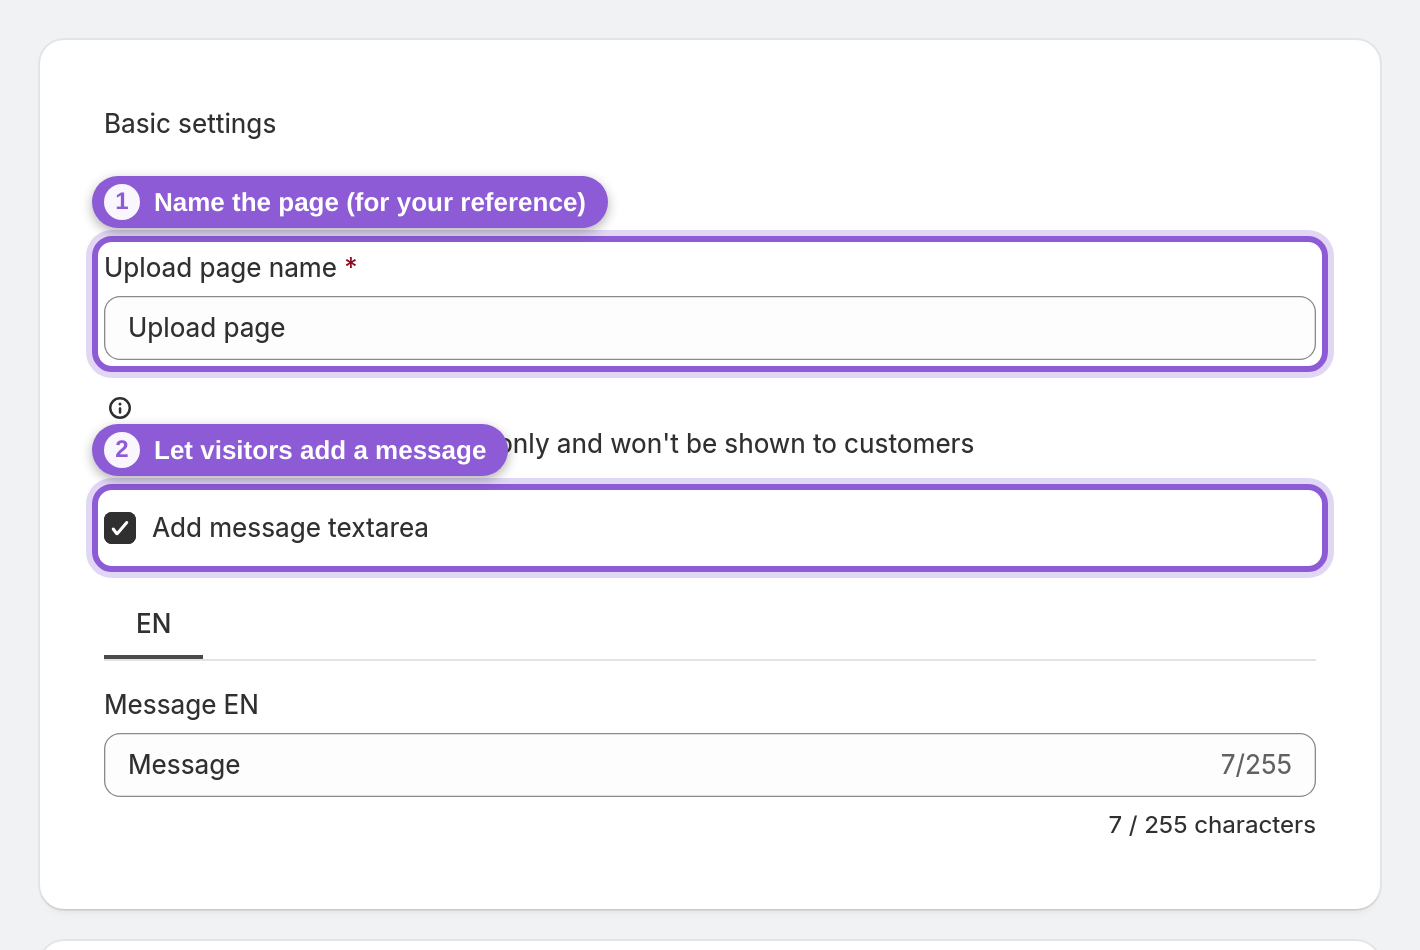
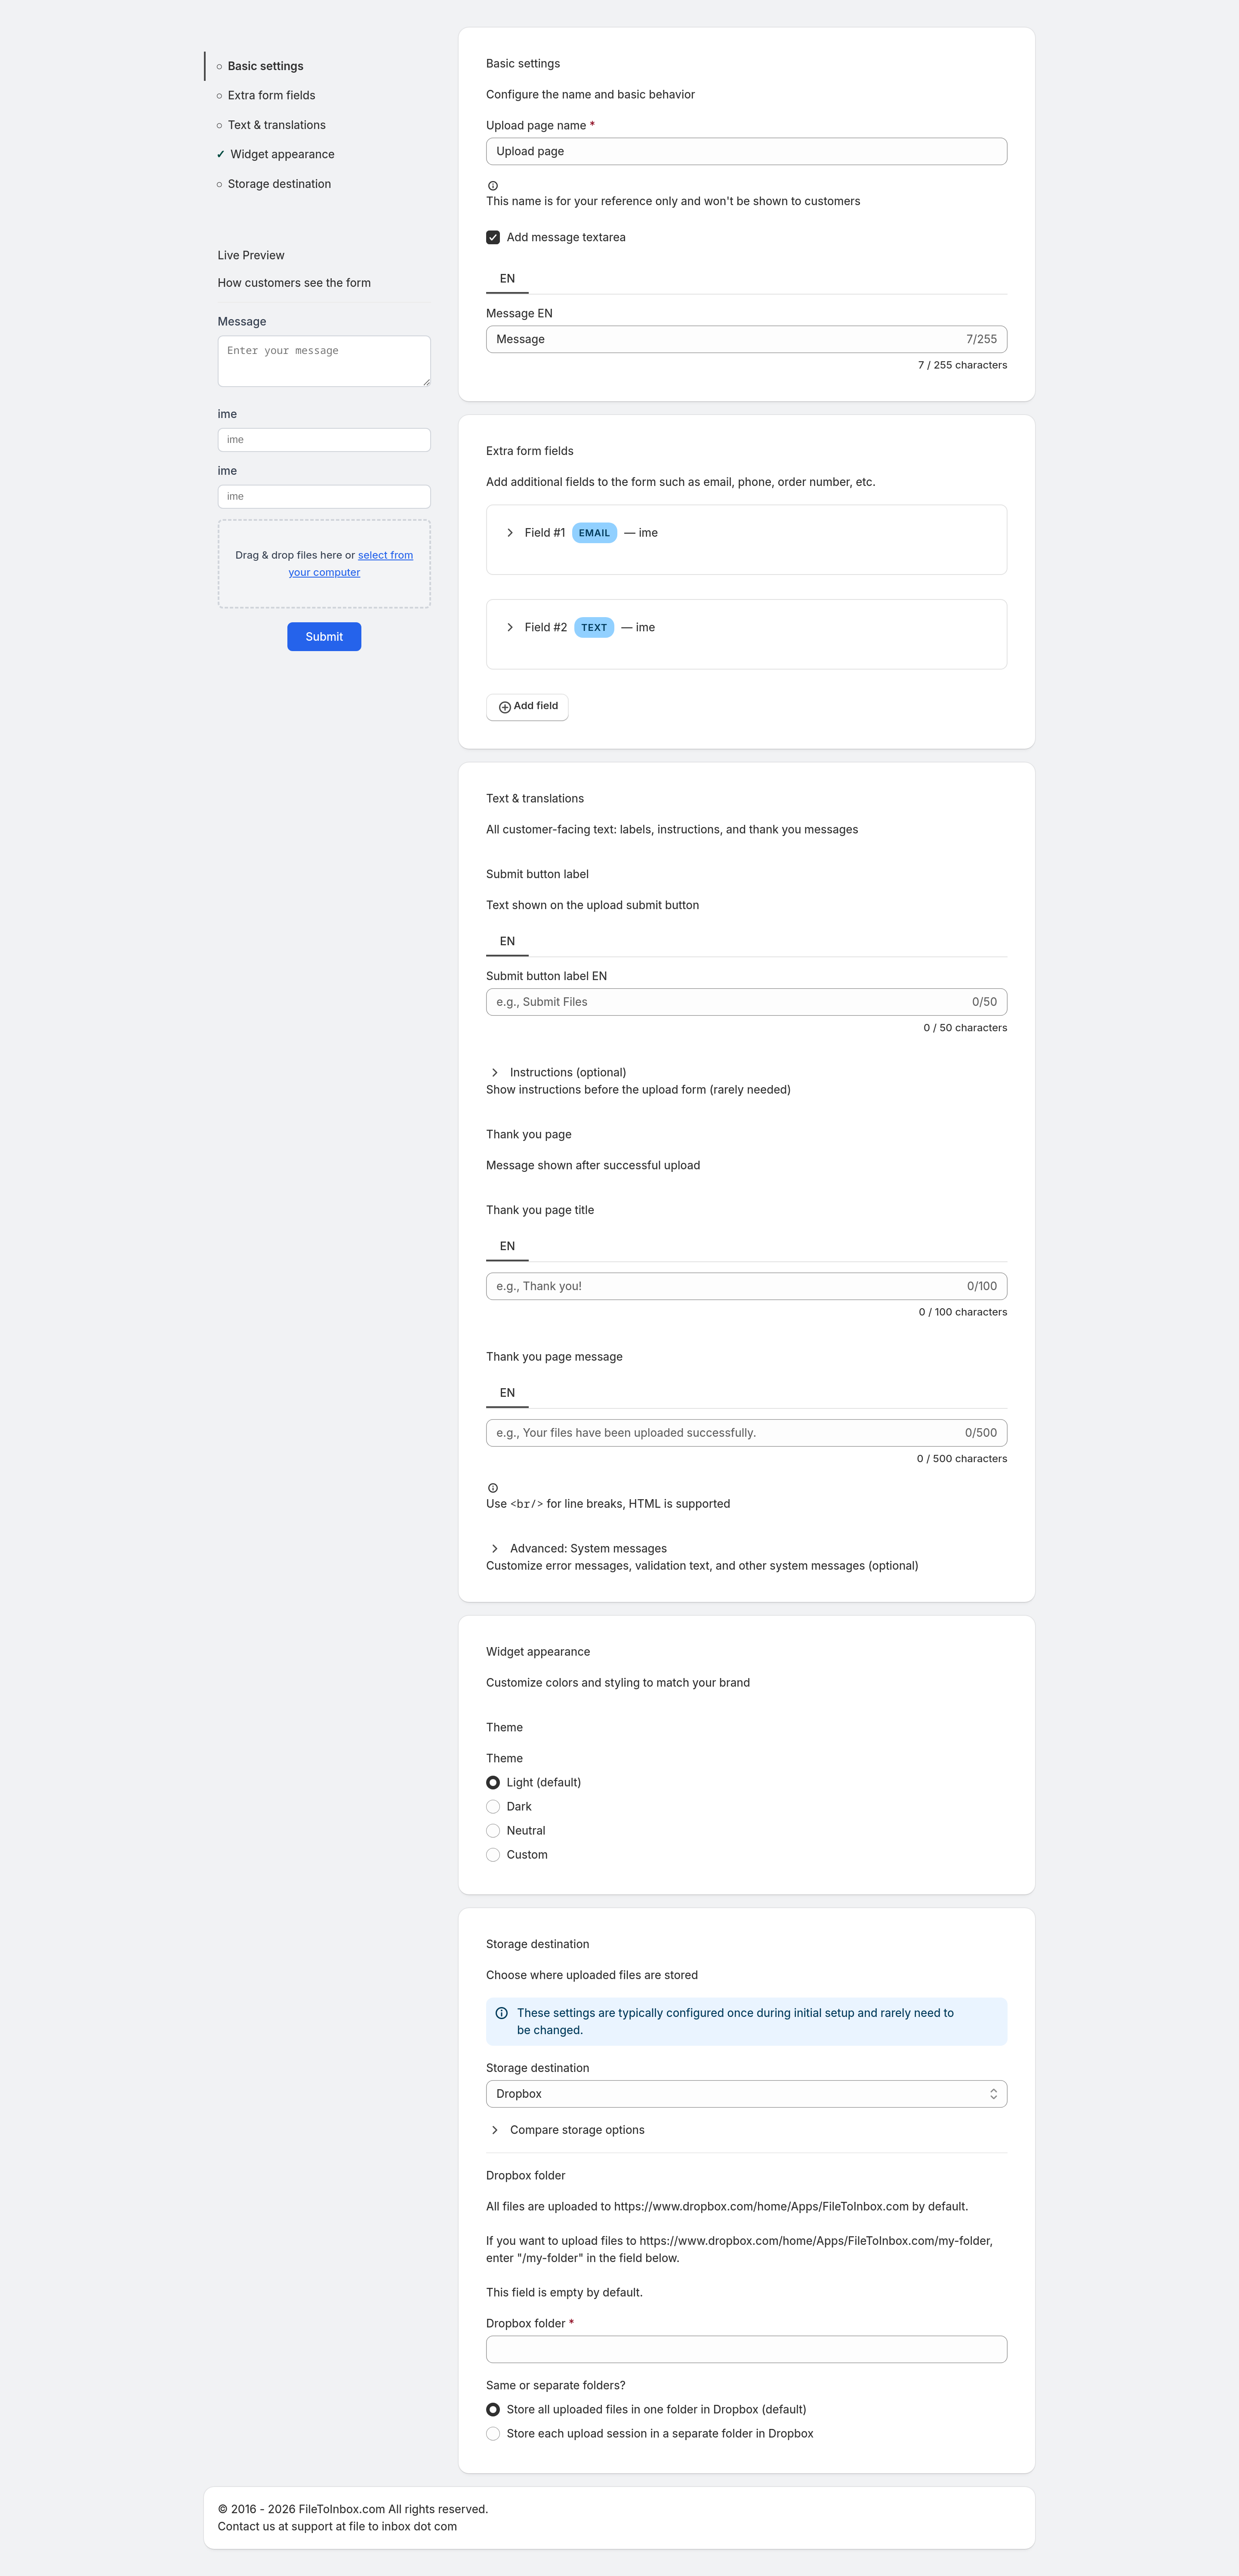
In Basic settings, set the Upload page name (for your reference only — customers don't see it). Turn on Add message textarea if you want visitors to leave a note along with their files, like a project name or special instructions.
3 Add your own form fields
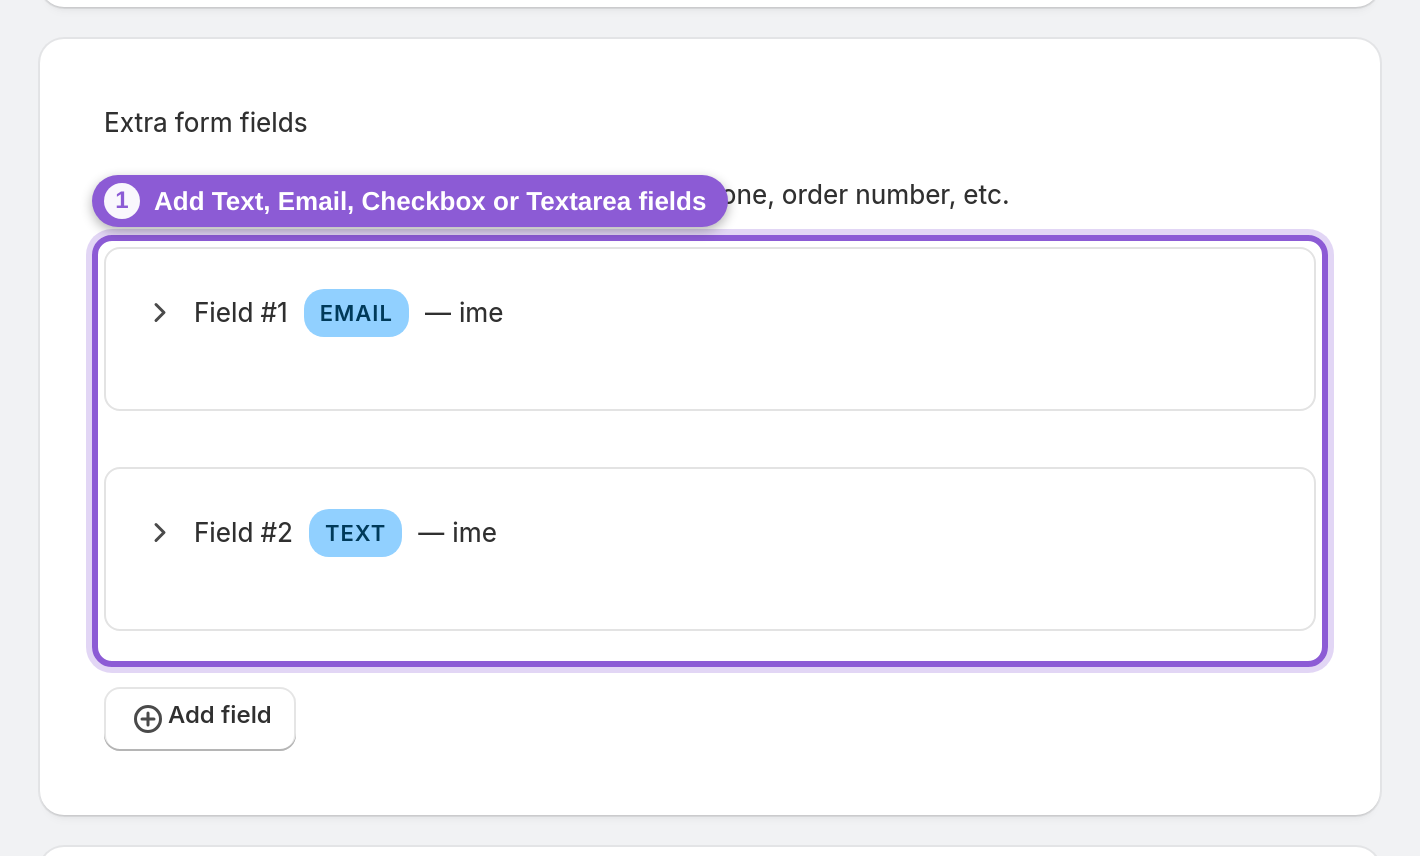
The Extra form fields section is where the standalone page earns its keep. Add fields so an upload isn't just an anonymous file — a Text field for a name or order number, an Email field to reach them, a Checkbox for consent, or a Textarea for longer notes. Mark any field Required so customers can't submit without it. Each field can be labelled in every language your store sells in.
4 Add instructions customers see before they upload
Open Text & translations and expand Instructions (optional) to add a short note above the upload area — file format, resolution, anything they need to get it right the first time. Most pages don't need it, so it stays tucked away until you do.

5 Customize the thank-you page
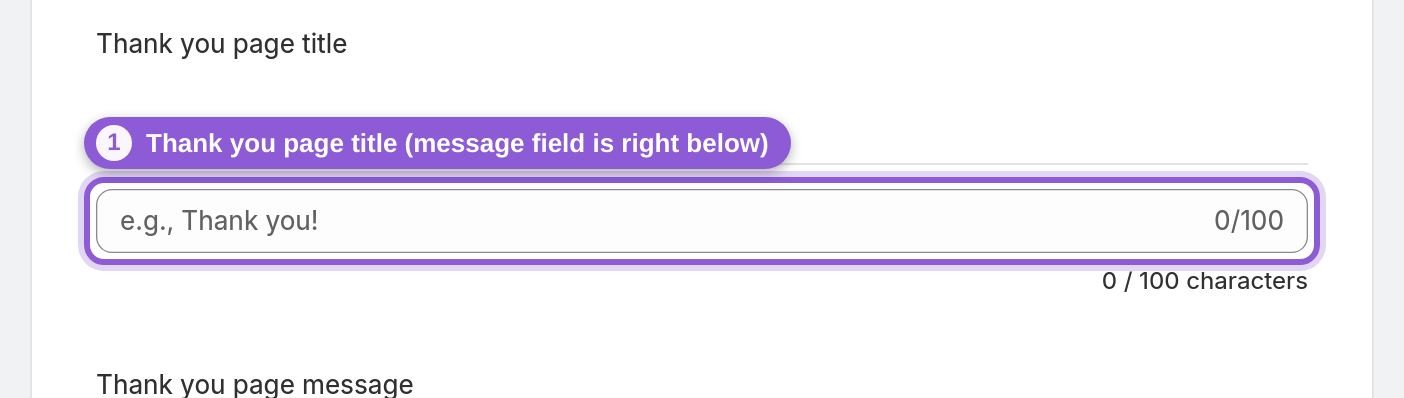
Still in Text & translations, set the Thank you page title and Thank you page message shown after a successful upload. You can use
6 Style the page to match your brand
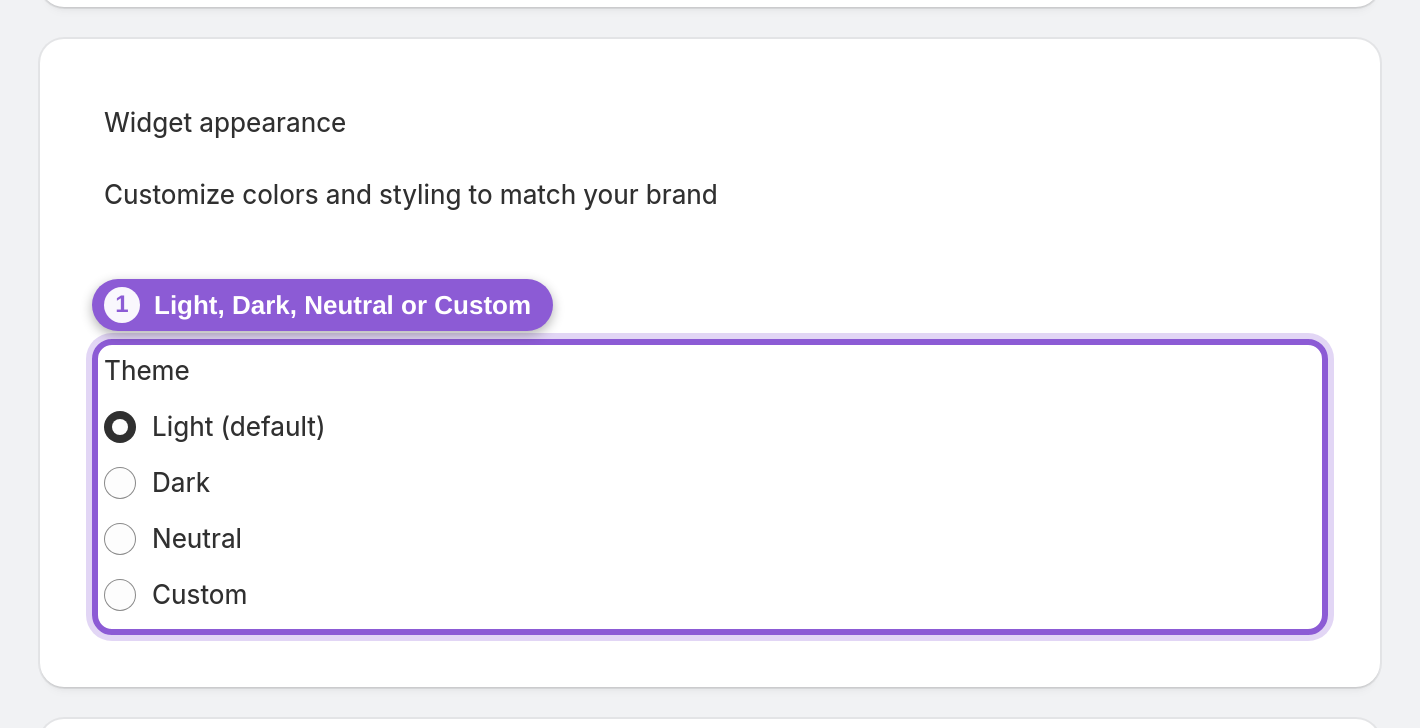
In Widget appearance, pick a Theme — Light, Dark or Neutral — or choose Custom to set your own Primary color, Text color, Background color and Border color with the color pickers. A live preview on the left updates as you go, so you can see exactly what customers will get.
7 Choose where the files land
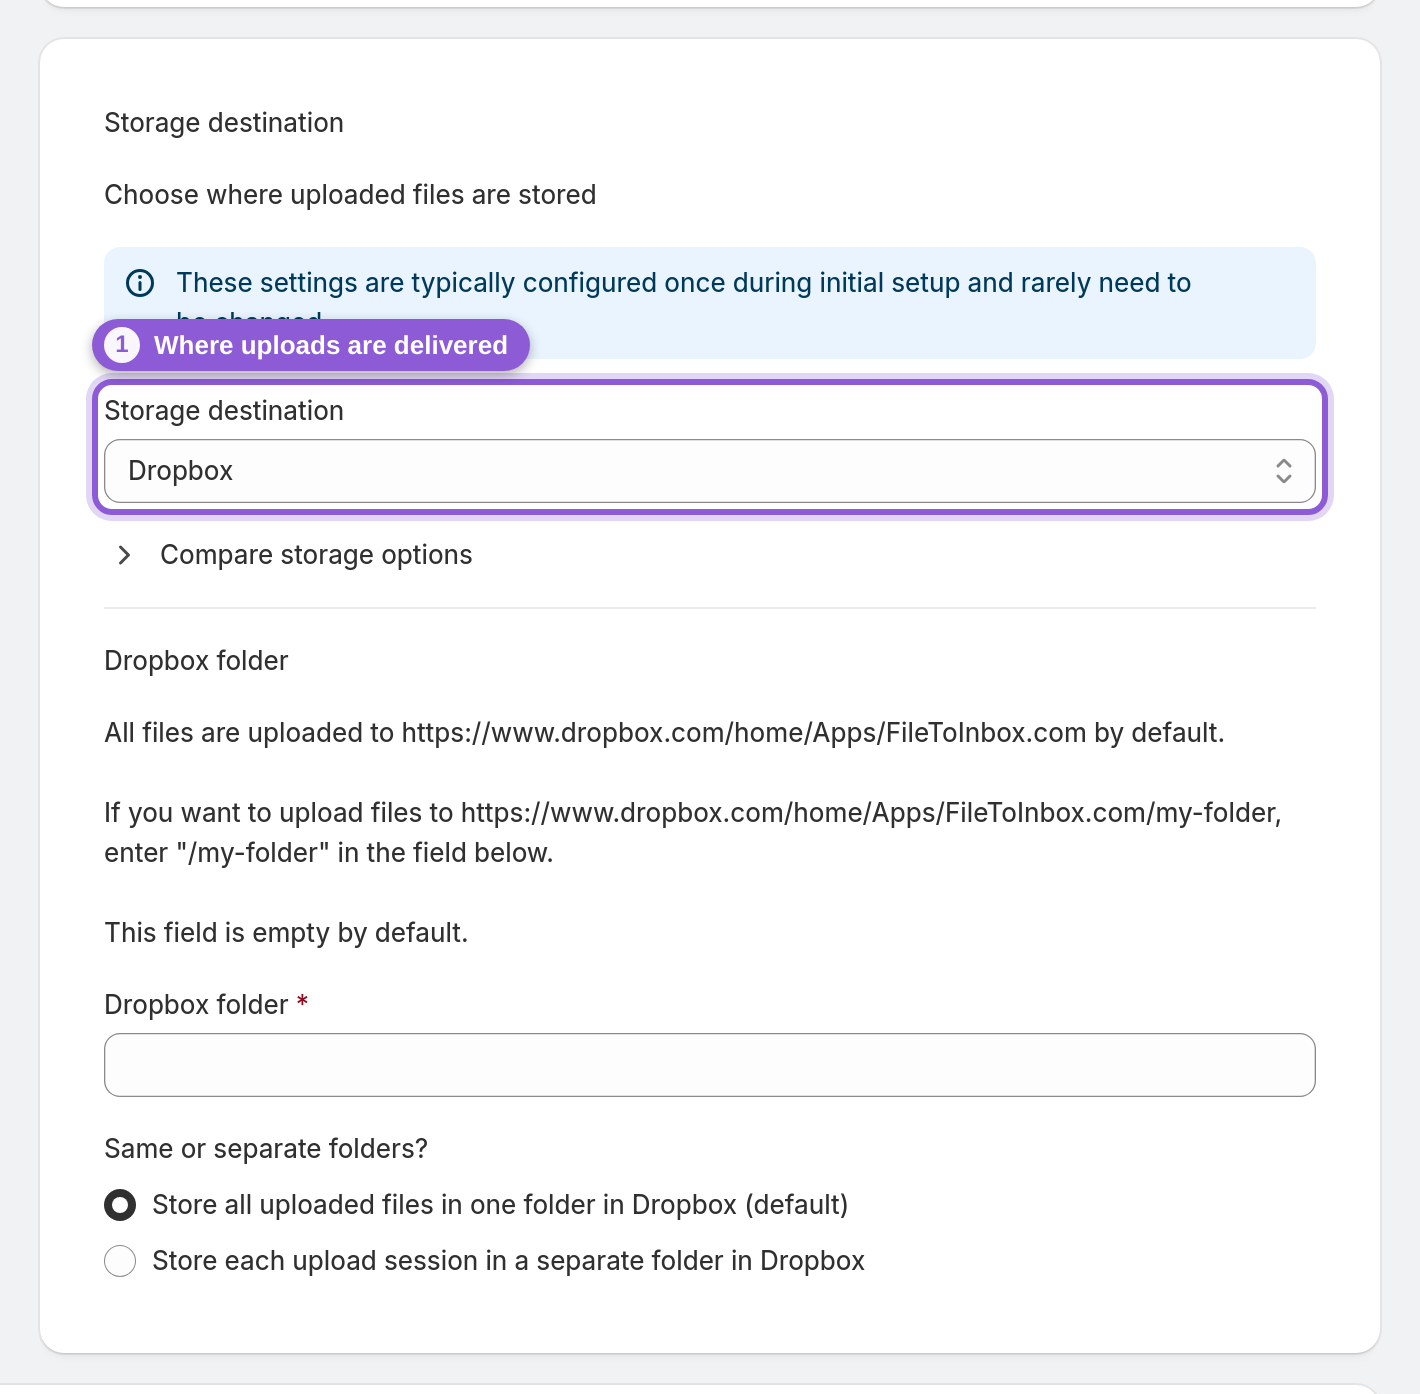
Under Storage destination, set where uploads are delivered with the Storage destination dropdown — the app's built-in Cloud storage (nothing to connect), or your own Dropbox, Google Drive, OneDrive, Box or SFTP server. This is usually set once and left alone.
8 Save and share the link
Hit Save. Back on the dashboard, the page's public link appears in the list — copy it and share it anywhere: order confirmation emails, chat, social, a QR code on packaging. The page works on its own, with no order required, so anyone with the link can send you a file.
Frequently asked questions
How do I create a file upload page on Shopify?
File To Inbox publishes a standalone upload page when you install it, so you just customize it: open it from the dashboard, add your form fields, instructions and thank-you message, choose a storage destination, and Save. Then share the page's link — no theme code needed.
Can customers upload files without placing an order?
Yes. The standalone upload page works independently of products and orders. Share its link and anyone can send you files — perfect for after-sale artwork, document collection or intake before a custom job.
Can I add my own fields to the upload form?
Yes. In Extra form fields add Text, Email, Checkbox or Textarea fields, label them, and mark any as Required. That way each upload comes with the details you need — a name, order number, email or consent — instead of an anonymous file.
Where do I get the link to my upload page?
After you save, the page's public link shows up next to it in the dashboard list. Copy it and share it anywhere — emails, chat, social or a QR code.
Can I match the upload page to my store's branding?
Yes. In Widget appearance choose a Light, Dark or Neutral theme, or pick Custom and set your own primary, text, background and border colors. A live preview shows the result as you edit.
I deleted my upload page — can I get it back?
Yes. When a standalone page has been deleted, a Restore standalone page button appears on the dashboard. One click brings it back.
Can I show instructions and a thank-you message?
Yes. Add optional instructions above the upload area, and set a custom thank-you title and message shown after a successful upload. Both support multiple languages, and the thank-you message supports HTML for line breaks.
Does the upload page support multiple languages?
Yes. Labels, field names, instructions and the thank-you message each have a tab per language your store sells in, so the page reads naturally for every customer.